
Thukpa Recipe – Cozy Hakka Noodle Soup with Fresh Vegetables


Ingredients
- Hakka Noodles - 1 LB
- Tomato - 1/2 Cup
- Onions - 1 Cup
- Garlic - 4-5 Cloves
- Ginger - 1/2 Inch
- Green Chilies - 1-2 Qty
- Chili Flakes - 1 Tbsp
- Coriander - 2 Tbsp
- Olive Oil - 2 to 3 Tbsp
- Carrot - 1/2 Cup (julienne)
- Bell Pepper - 1/2 Cup (julienne)
- Cabbage - 1 Cup (julienne)
- Vegetable Stock - 3 Cups
- Pepper - 1 Tsp
- Salt - To Taste
- Green Onions - Chopped (garnish)
- Fresh Coriander - Chopped (garnish)
Thukpa, a flavorful Hakka Noodle Soup, is a comforting bowl of warmth that originates from the Himalayan regions, particularly popular in Nepal, Tibet, and parts of Northeast India. This delicious noodle soup is known for its vibrant mix of vegetables, aromatic spices, and a rich, flavorful broth that soothes the soul. Perfect for chilly days or when you're craving something cozy, Thukpa is a delightful balance of spice, tang, and warmth that satisfies your taste buds and leaves you feeling nourished.
Watch our recipe video for step by step instructions on how to make Thukpa. We’ve included demonstrations and pro tips to help you out in the kitchen! For our Thukpa calories and nutrition information, see the recipe card below.
Instructions
How to Make Thukpa (Hakka Noodle Soup):
1) Begin by bringing a large pot of water to a boil. Add 1 lb of dried Hakka noodles and cook them until they are about 75% done, which should take around 4-5 minutes. Stir occasionally to prevent sticking.
2) Once partially cooked, strain the noodles and set them aside. Save some of the pasta cooking water for later use.
3) In a blender or food processor, combine the following:
- 1/2 cup tomato
- 1 cup onion
- 4-5 cloves of garlic
- 1-2 green chilies
- 1/2 inch piece of ginger
- 2 tablespoons cilantro
- 1 tablespoon chili flakes
Blend these ingredients into a smooth paste without adding any water, then set the paste aside.
4) In a large wok or pan, heat 2-3 tablespoons of olive oil.
5) Once the oil is hot, add the prepared paste and cook it for 1-2 minutes until it thickens slightly and the raw aroma fades.
6) Add 1/2 cup of julienned carrots and 1/2 cup of julienned bell peppers to the pan. Sauté them together with the paste.
PRO TIP: If the mixture becomes too dry while sautéing, add a splash of the reserved pasta water to maintain moisture.
7) Cook the vegetables until they begin to soften, about 3-5 minutes.
8) Add 1 cup of julienned cabbage and continue to cook for another 3-5 minutes, until the cabbage also softens.
9) Pour in 3 cups of vegetable broth and stir everything together. Season with salt and pepper to taste.
10) Cover the pan and allow the mixture to come to a boil.
PRO TIP: If you prefer a slightly thicker soup, you can stir in a small amount of cornflour slurry at this stage.
11) To serve, place the cooked noodles into serving bowls.
PRO TIP: Rinse the noodles under cold water before serving to prevent them from sticking together.
12) Ladle the hot soup over the noodles and top with chopped green onions and fresh coriander for garnish.
Serve the Thukpa hot and enjoy the flavorful, comforting bowl of Hakka Noodle Soup!
Thukpa, a flavorful Hakka Noodle Soup, is a comforting bowl of warmth that originates from the Himalayan regions, particularly popular in Nepal, Tibet, and parts of Northeast India. This delicious noodle soup is known for its vibrant mix of vegetables, aromatic spices, and a rich, flavorful broth that soothes the soul. Perfect for chilly days or when you're craving something cozy, Thukpa is a delightful balance of spice, tang, and warmth that satisfies your taste buds and leaves you feeling nourished.
Watch our recipe video for step by step instructions on how to make Thukpa. We’ve included demonstrations and pro tips to help you out in the kitchen! For our Thukpa calories and nutrition information, see the recipe card below.
Leave a review
We value your feedback. Let us know how did you like the recipe.
Recent Recipes
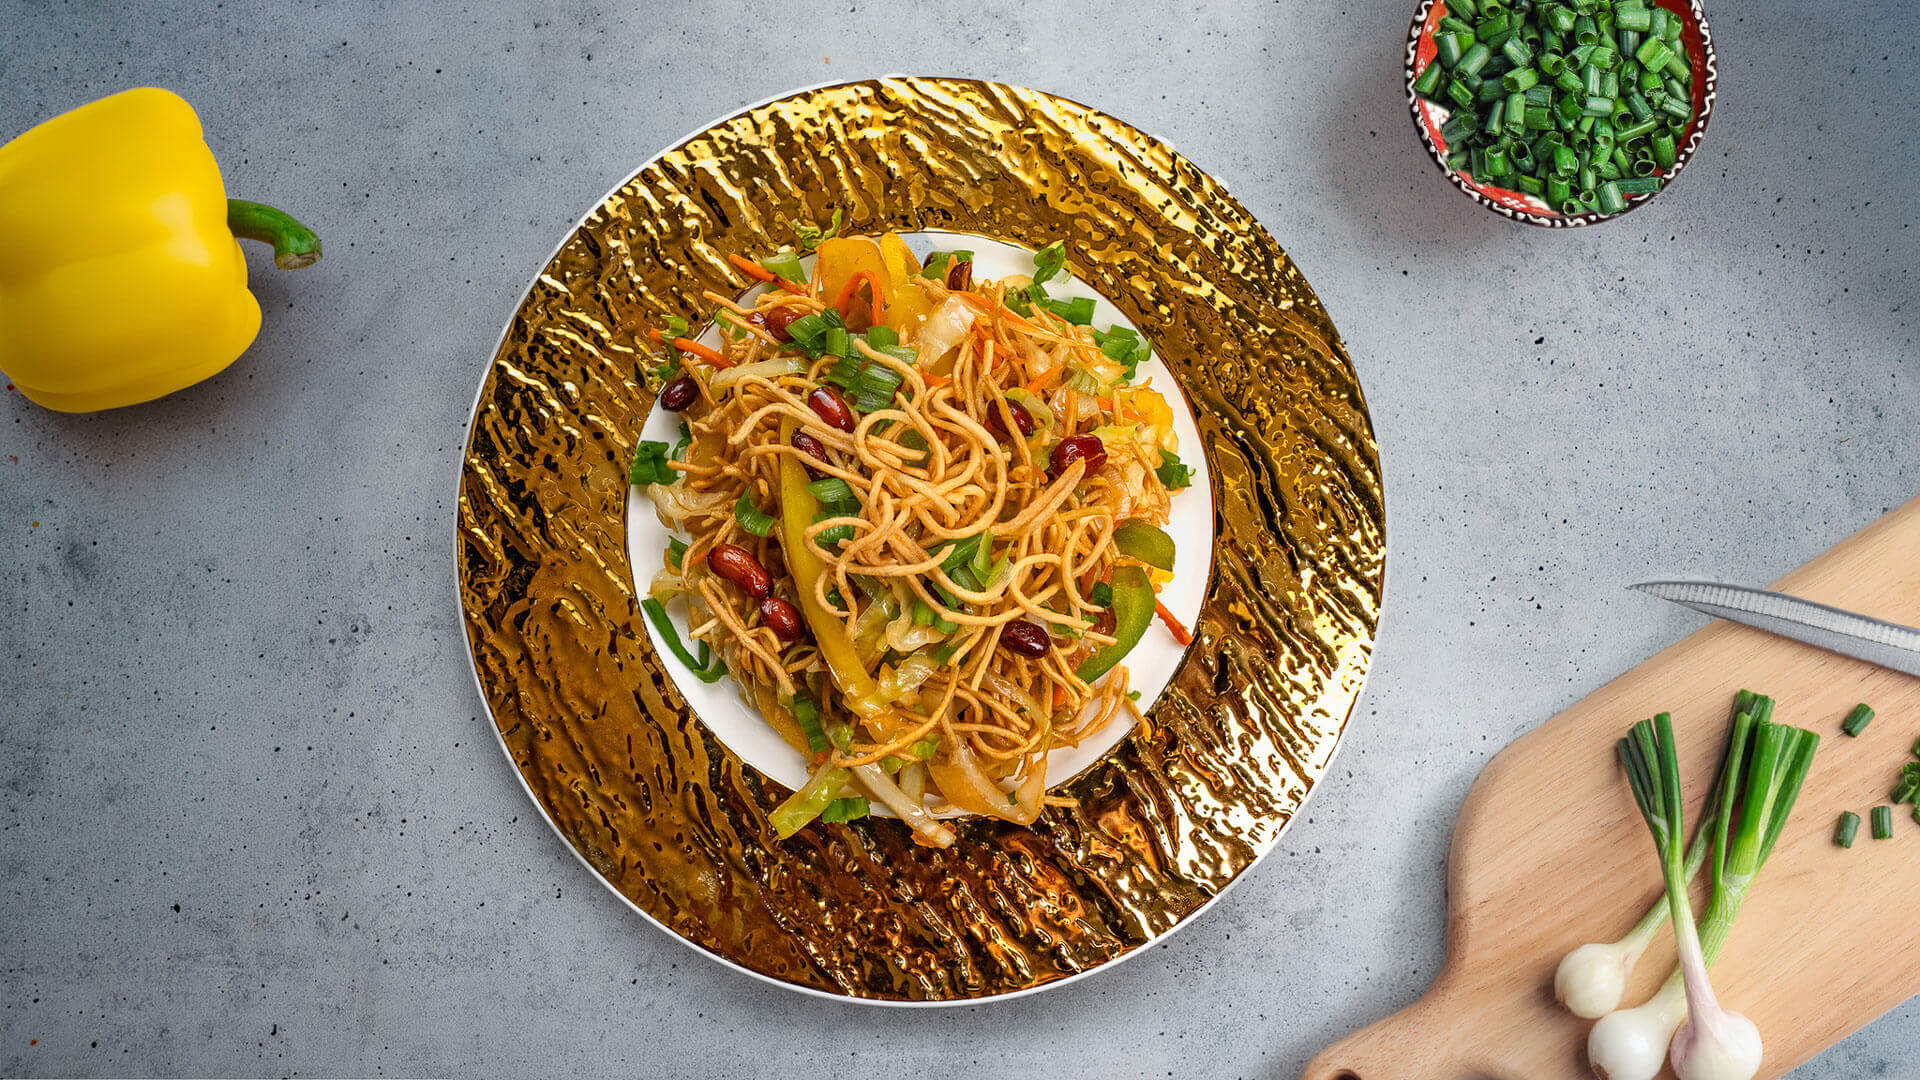
Chinese Bhel Recipe with Crispy Hakka Noodles - Easy Vegetarian Indo-Chinese Street Food Snack at Home
Make restaurant-style Chinese Bhel at home with crispy fried Hakka noodles, colorful vegetables, Schezwan sauce, and crunchy peanuts. This easy vegetarian recipe is full of flavor and perfect as a snack, appetizer, or light meal.
Chinese Bhel is a crispy, colorful Indo-Chinese snack made with fried Hakka noodles, fresh vegetables, peanuts, and bold sauces. The noodles are boiled, lightly coated, fried until crunchy, then tossed with cabbage, carrots, bell peppers, green onions, and a spicy Schezwan-style sauce mixture.
This vegetarian recipe is perfect for anyone who loves street food flavors with plenty of texture in every bite. The crispy noodles, sautéed vegetables, and crunchy peanuts make it a fun ASMR-style recipe, while the oven-baked or air-fried noodle option gives you a lighter way to enjoy this favorite at home.
Watch our recipe video for step by step instructions on how to make Chinese Bhel. We’ve included demonstrations and pro tips to help you out in the kitchen! For our Chinese Bhel recipe calories and nutrition information, see the recipe card below.
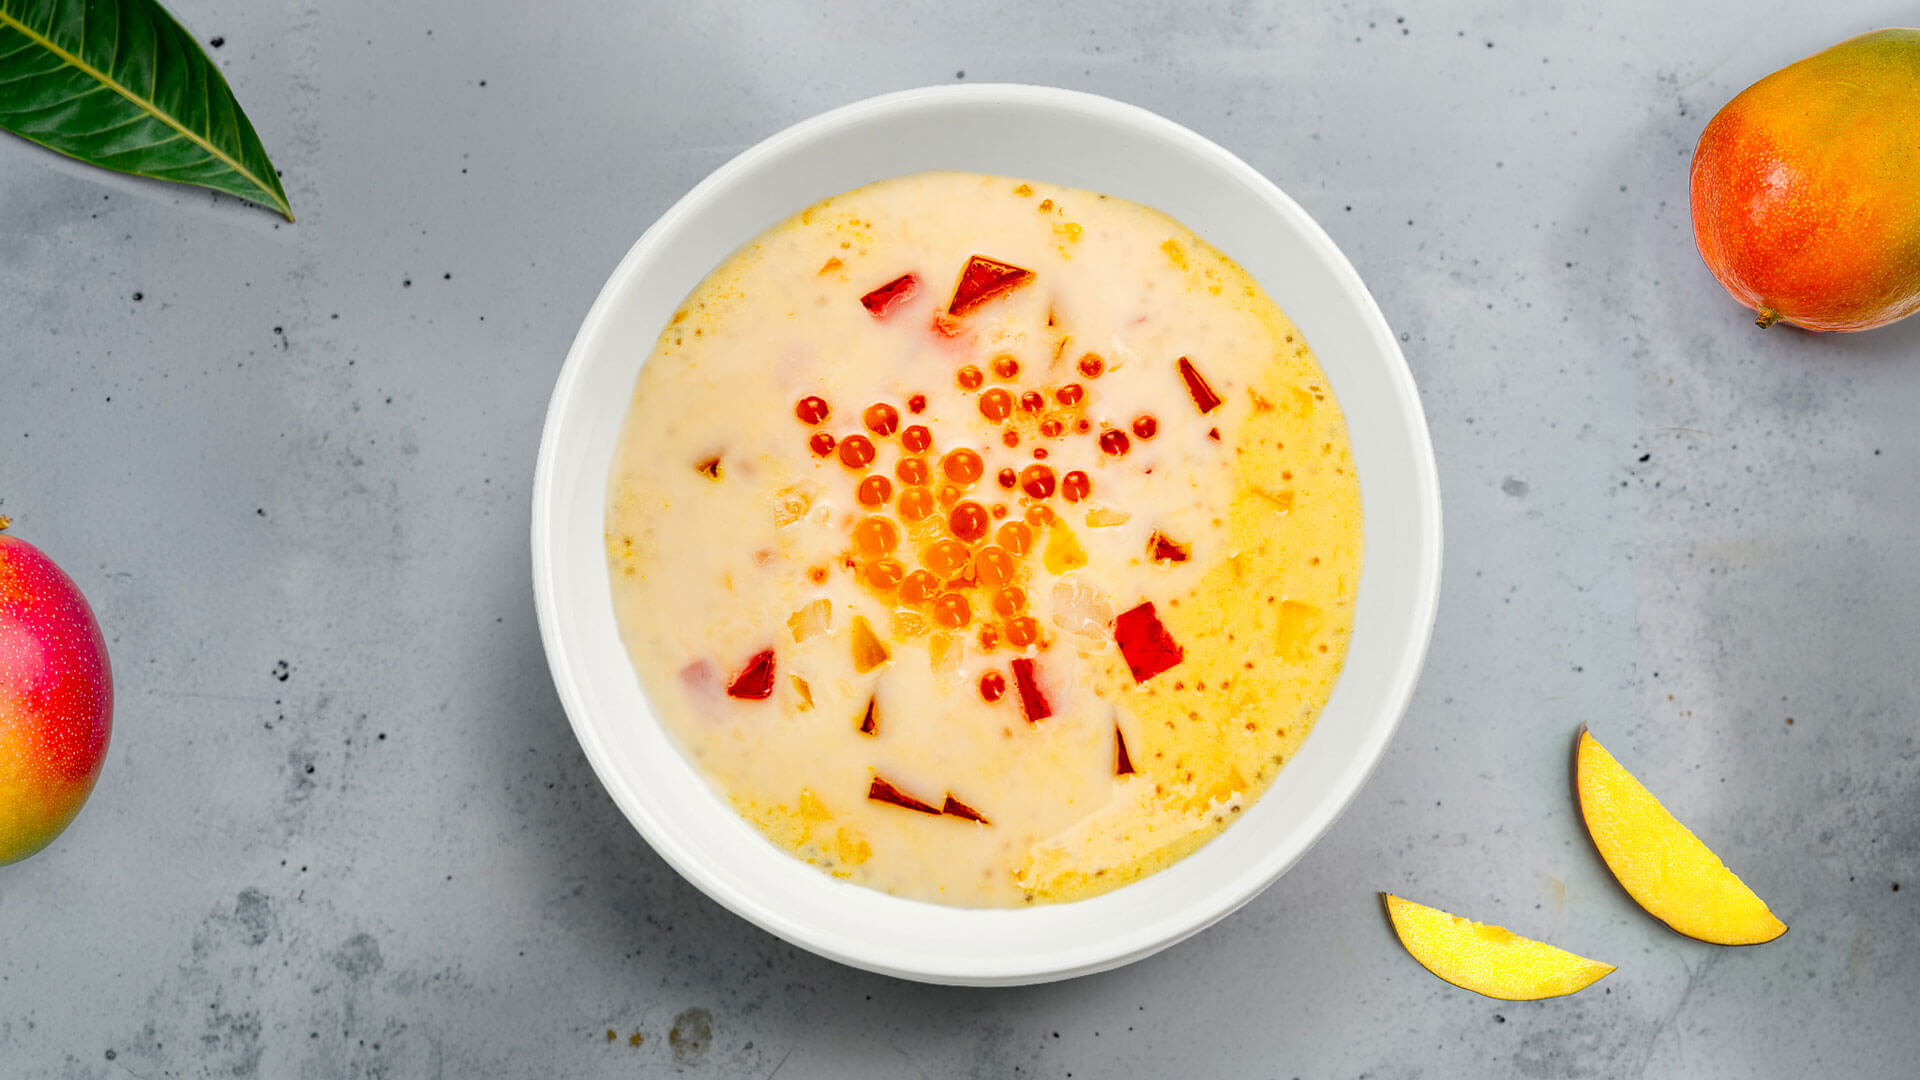
Creamy Mango Sago Recipe with Tapioca Pearls, Fresh Mango, Jelly, and Popping Boba
Make a creamy Mango Sago dessert with ripe mangoes, tapioca pearls, mango puree, condensed milk, evaporated milk, fresh cream, jelly, and popping boba. This chilled mango tapioca dessert is refreshing, colorful, and perfect for summer gatherings or family treats.
Mango Sago is a creamy, chilled dessert made with soft tapioca pearls, ripe mango chunks, mango puree, condensed milk, evaporated milk, fresh cream, and regular milk. Every spoonful has a refreshing mix of sweet mango flavor, creamy milk, and chewy sago pearls, making it a perfect dessert for warm days, family gatherings, or mango season treats.
This mango tapioca recipe can also be made extra colorful with red and yellow jelly cubes and mango-flavored popping boba for a fun texture. Serve it cold in tall glasses or dessert cups for a bright, refreshing mango dessert that is easy to prepare and beautiful to share.
Watch our recipe video for step by step instructions on how to make Mango Sago. We’ve included demonstrations and pro tips to help you out in the kitchen! For our mango sago recipe calories and nutrition information, see the recipe card below.
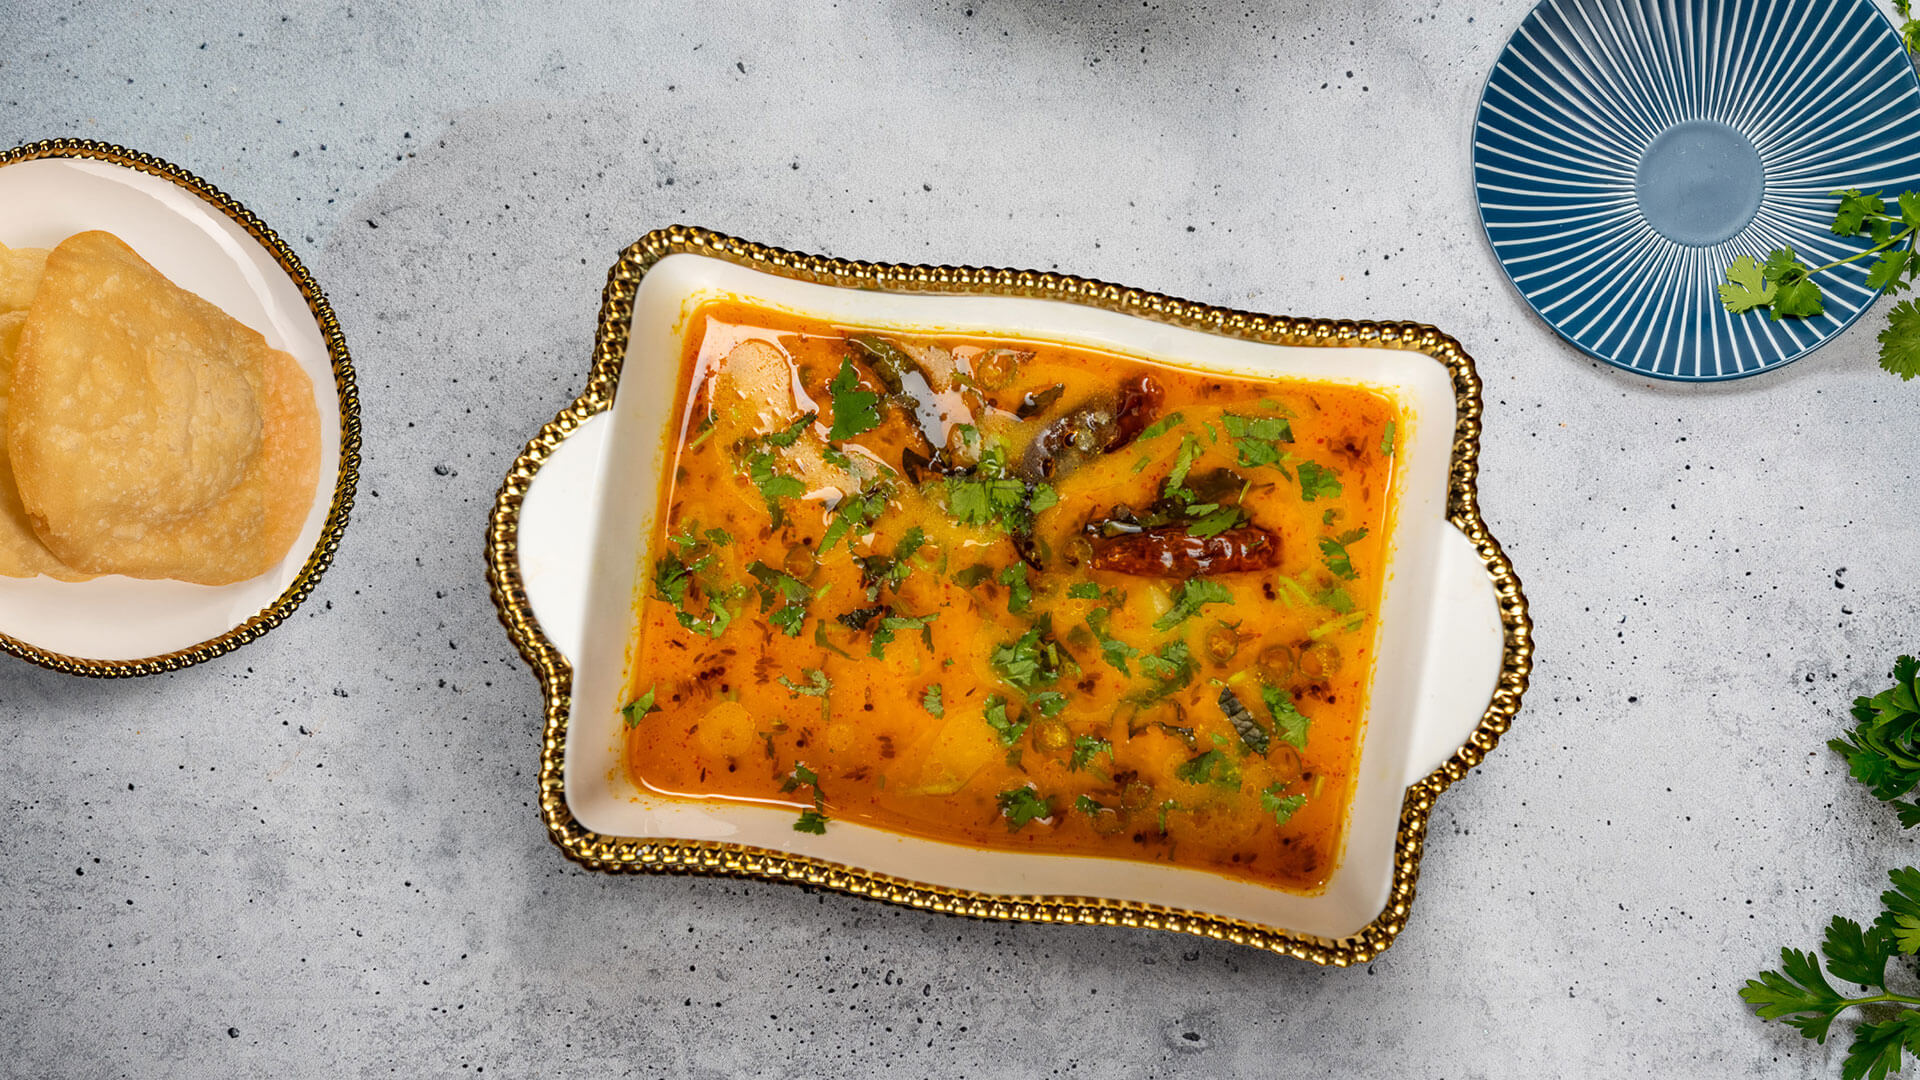
Mathey Wale Aloo Recipe - Creamy Buttermilk Potato Curry - Easy Vegetarian Curry for Puri, Rice, or Naan
Make Mathey Wale Aloo, a comforting Dahi Aloo vegetarian curry made with boiled potatoes, buttermilk, warm spices, curry leaves, cumin, mustard seeds, and fresh cilantro. Serve this easy Indian potato curry with puri, naan, or rice for a flavorful homemade meal.
Mathey Wale Aloo, also known as Matthe Wale Aloo or Dahi Aloo, is a tangy Indian vegetarian potato curry made with boiled potatoes, buttermilk, warm spices, curry leaves, and a cumin-mustard tempering.
The potatoes are kept slightly chunky and simmered in a creamy, spiced buttermilk gravy. Serve this comforting aloo curry with puri, rice, naan, or roti for a simple homemade meal.
Watch our recipe video for step by step instructions on how to make Mathey Wale Aloo. We’ve included demonstrations and pro tips to help you out in the kitchen! For our mathey wale aloo recipe calories and nutrition information, see the recipe card below.