
Quinoa Khichdi in a Pressure Cooker – Easy Vegetarian Recipe


Ingredients
Quinoa Khichdi:
Quinoa - 3/4 cup
Yellow Mung Dal - 3/4 cup
Oil / Ghee - 2 tbsp
Mustard Seeds - 1 tsp
Cumin Seeds - 1 tsp
Bay Leaf - 1 qty
Onion - 1, chopped
Ginger - 1 inch, finely chopped
Garlic - 3 cloves, finely chopped
Green Chilies - 2, finely chopped
Asafoetida / Hing - 1/4 tsp
Tomatoes - 3, chopped
Turmeric Powder - 1/2 tsp
Red Chili Powder - 1/2 tsp
Salt - 2 big pinches
Pepper - to taste
Green Beans - 1 cup, chopped
Carrots - 1 cup, chopped
Green Peas - 1 cup
Water - 5 cups
Lemon Juice - 2 tbsp
Cilantro Leaves - 1/4 cup, chopped
Garnish:
Carrot - 1, grated
Green Chili - 1/2, finely chopped
Cilantro Leaves - 1 tbsp
Lemon - 1 squeeze
Ghee - 1tsp garnish
Pressure cooker quinoa khichdi is a vegetarian dish that's easy to make, full of flavor, and family style. Made with quinoa, yellow moong dal, and tons of veggies, this creamy and rich khichdi is a one pot meal that the whole family will love.
Instant Pot Quinoa Khichdi is an easy switch, just follow the same steps, but cook it for 4 minutes on high pressure with a 10-minute pressure release!
Watch our video for step-by-step instructions on how to make Quinoa Khichdi recipe. We’ve included demonstrations and pro tips to help you out in the kitchen! For Khichdi calories and nutrition information, see the recipe card below.
Instructions
1) Thoroughly rinse 3/4 cup quinoa and 3/4 cup yellow mung dal under water until it runs completely clear.
2) Transfer the quinoa and dal to a large bowl. Cover them completely with water and set aside to soak for 30 minutes (optional).
PRO TIP: While soaking, prepare your other ingredients!
3) Drain the dal and quinoa and set aside.
4) In a 5 Liter pressure cooker over medium/high heat, add 2 tbsp oil or ghee.
5) After heating, add 1 tsp mustard seeds, 1 tsp cumin seeds, and 1 bay leaf.
6) Sauté for about 1 minute until the seeds begin to crackle and the cumin turns to a darker color.
7) Add 1 chopped onion, 1 inch finely chopped ginger, 3 cloves finely chopped garlic, 2 finely chopped green chilis, and 1/4 tsp asafoetida / hing powder.
8) Mix well and sauté for about 5 minutes, or until the onion turns translucent.
9) Add 3 chopped tomatoes, 1/2 tsp turmeric powder, 1/2 tsp red chili powder, 2 big pinches of salt, and pepper to taste.
10) Mix well and sauté for about 7 minutes. The tomatoes should be completely mashed.
11) Add the soaked quinoa and dal, 1 cup chopped green beans, 1 cup green peas, 1 cup chopped carrots, and 5 cups of water. Mix thoroughly.
PRO TIP: Do not overfill your pressure cooker. To be safe, it should not be over 2/3rds full.
12) Seal pressure cooker, bring to full pressure and cook for 3 whistles.
13) After the 3rd whistle, turn off the heat and let the pressure release naturally (about 15 minutes).
14) Once finished, mix thoroughly.
15) Add 1/4 cup chopped cilantro leaves and 2 tbsp of lemon juice. Mix well.
16) Transfer Quinoa Khichdi to a serving bowl. Add 1 tsp ghee, grated carrot, chopped cilantro, finely chopped green chili, and lemon to garnish.
17) Serve hot!
Pressure cooker quinoa khichdi is a vegetarian dish that's easy to make, full of flavor, and family style. Made with quinoa, yellow moong dal, and tons of veggies, this creamy and rich khichdi is a one pot meal that the whole family will love.
Instant Pot Quinoa Khichdi is an easy switch, just follow the same steps, but cook it for 4 minutes on high pressure with a 10-minute pressure release!
Watch our video for step-by-step instructions on how to make Quinoa Khichdi recipe. We’ve included demonstrations and pro tips to help you out in the kitchen! For Khichdi calories and nutrition information, see the recipe card below.
Leave a review
We value your feedback. Let us know how did you like the recipe.
Recent Recipes
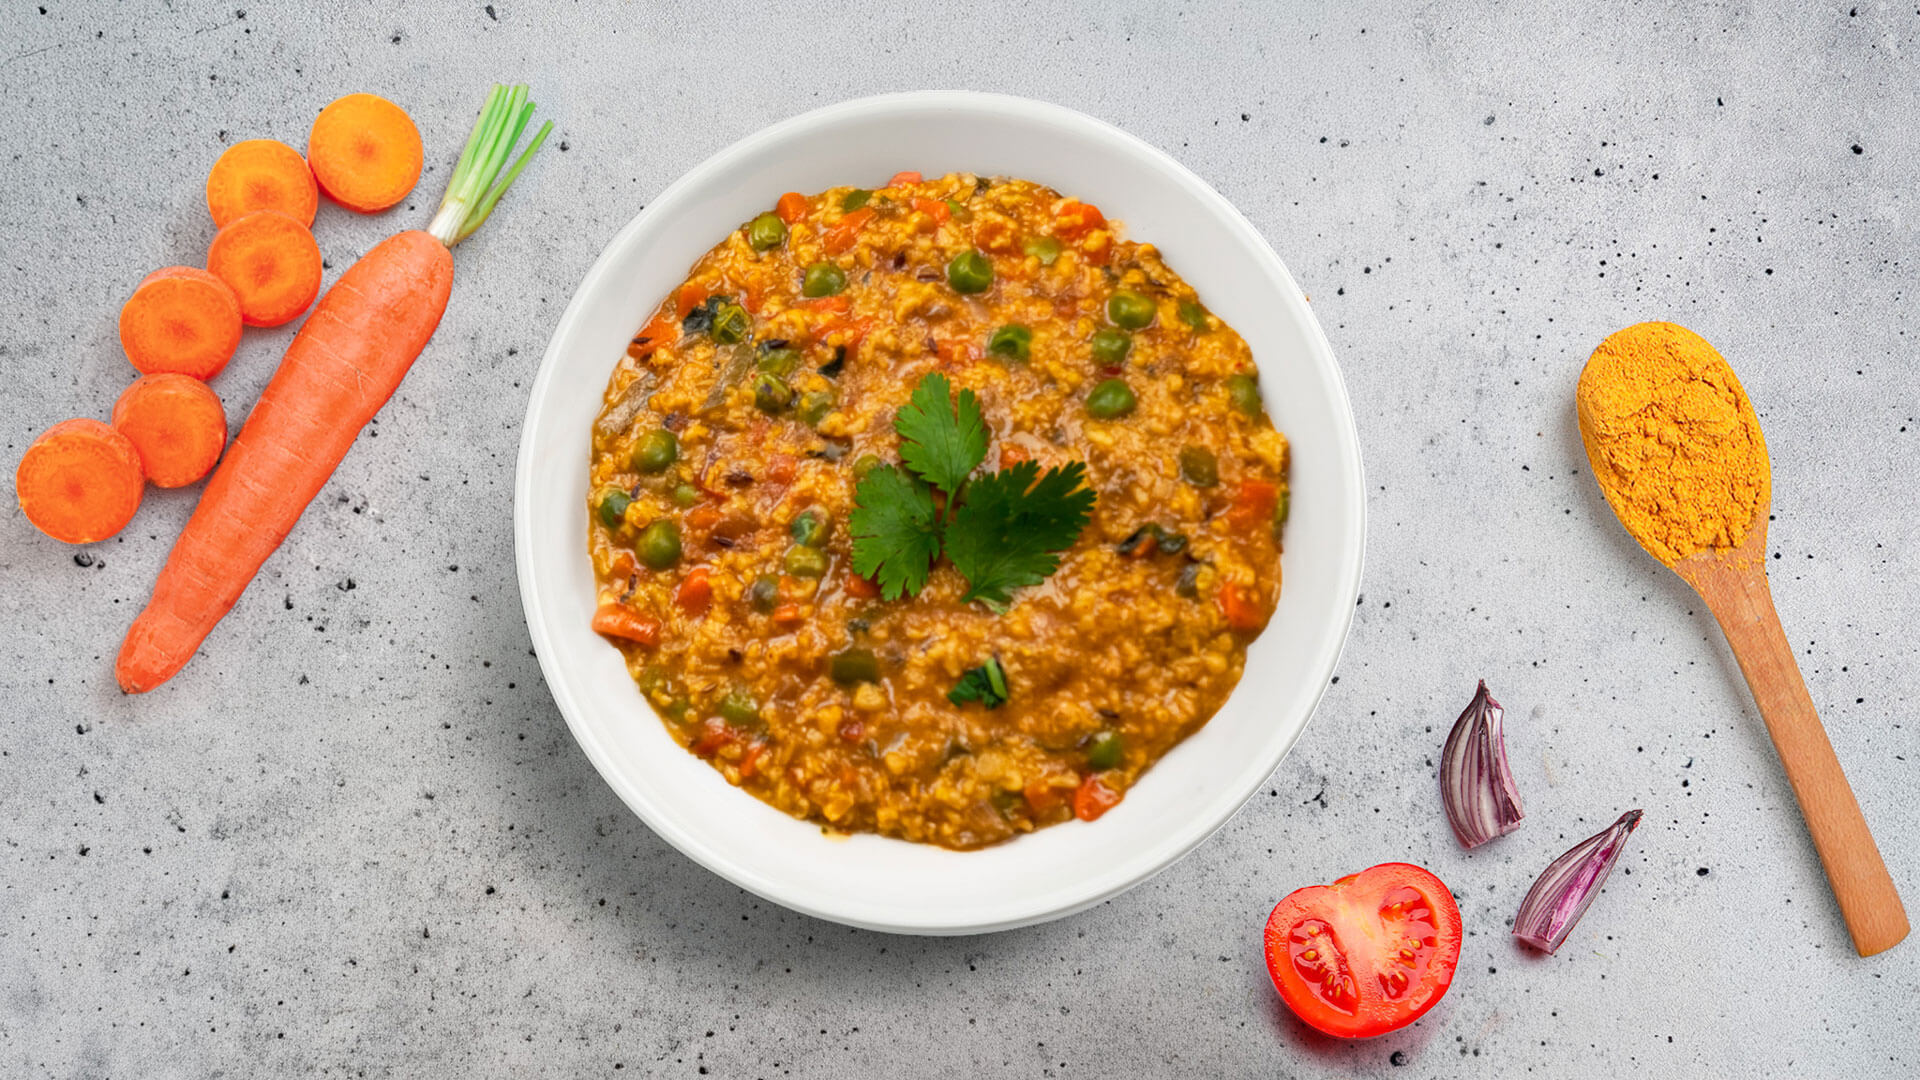
Easy Masala Oats Recipe with Rolled Oats, Vegetables, and Warm Masala Flavor
Enjoy a bowl of Masala Oats packed with rolled oats, vegetables, cumin, ginger, and flavorful masalas. This easy and savory vegan breakfast recipe brings together the comfort of Indian spices with the goodness of oats for a filling and wholesome start to the day.
Masala Oats is a warm and satisfying breakfast recipe that brings together the goodness of rolled oats with the bold, comforting flavors of Indian spices. Made with onions, tomatoes, carrots, bell peppers, peas, cumin, ginger, and masalas, this savory vegan oats recipe is a great option for mornings when you want something quick, filling, and flavorful.
This recipe is the perfect balance of healthy and comforting. The rolled oats make it hearty, while the vegetables add freshness, color, and texture. Whether you enjoy it as a quick breakfast, light lunch, or cozy evening meal, Masala Oats is healthy comfort food that feels familiar, nourishing, and full of homemade flavor.
Watch our recipe video for step by step instructions on how to make Masala Oats. We’ve included demonstrations and pro tips to help you out in the kitchen! For our masala oats recipe calories and nutrition information, see the recipe card below.
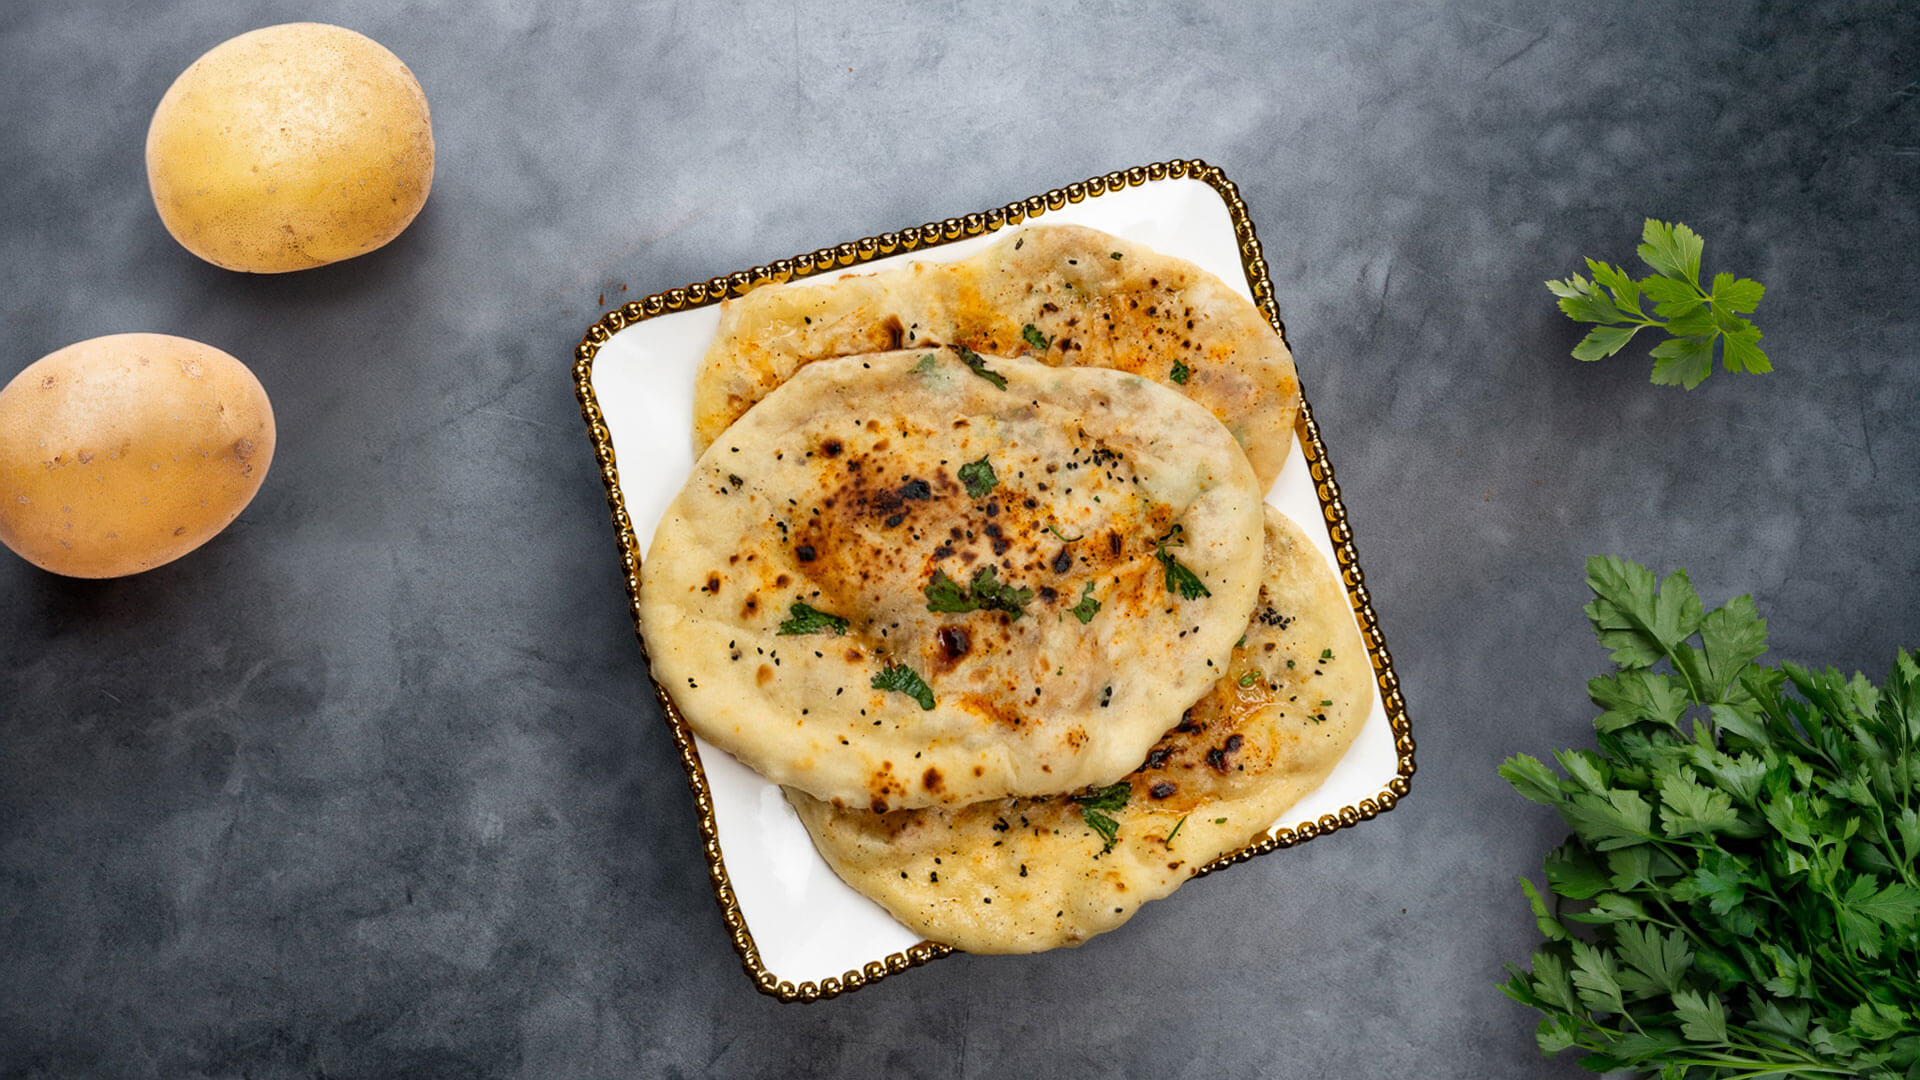
Aloo Kulcha Recipe - Soft Vegetarian Indian Bread Stuffed with Spiced Potatoes
Make delicious homemade Aloo Kulcha with a soft, fluffy dough and a savory spiced potato filling. A comforting vegetarian Indian potato flat bread recipe for lunch, dinner, or weekend meals.
Aloo Kulcha is a comforting vegetarian Indian bread made with a soft, homemade dough and a flavorful mashed potato filling. The dough is prepared with maida, yogurt, warm milk, and a little oil or ghee, then rested until it becomes soft and easy to roll. Inside, the potato filling is mixed with roasted cumin, coriander seeds, ginger, green chilies, onions, cilantro, and classic spices for a bold, savory taste.
Each kulcha is stuffed, rolled, and cooked on a hot tawa until golden spots appear, then brushed with butter or ghee for a rich finish. Serve this vegetarian Aloo Kulcha hot with chole, yogurt, pickles, or chutney for a satisfying meal that brings the warmth of North Indian flavors right to your table.
Watch our recipe video for step by step instructions on how to make Aloo Kulcha. We’ve included demonstrations and pro tips to help you out in the kitchen! For our aloo kulcha recipe calories and nutrition information, see the recipe card below.
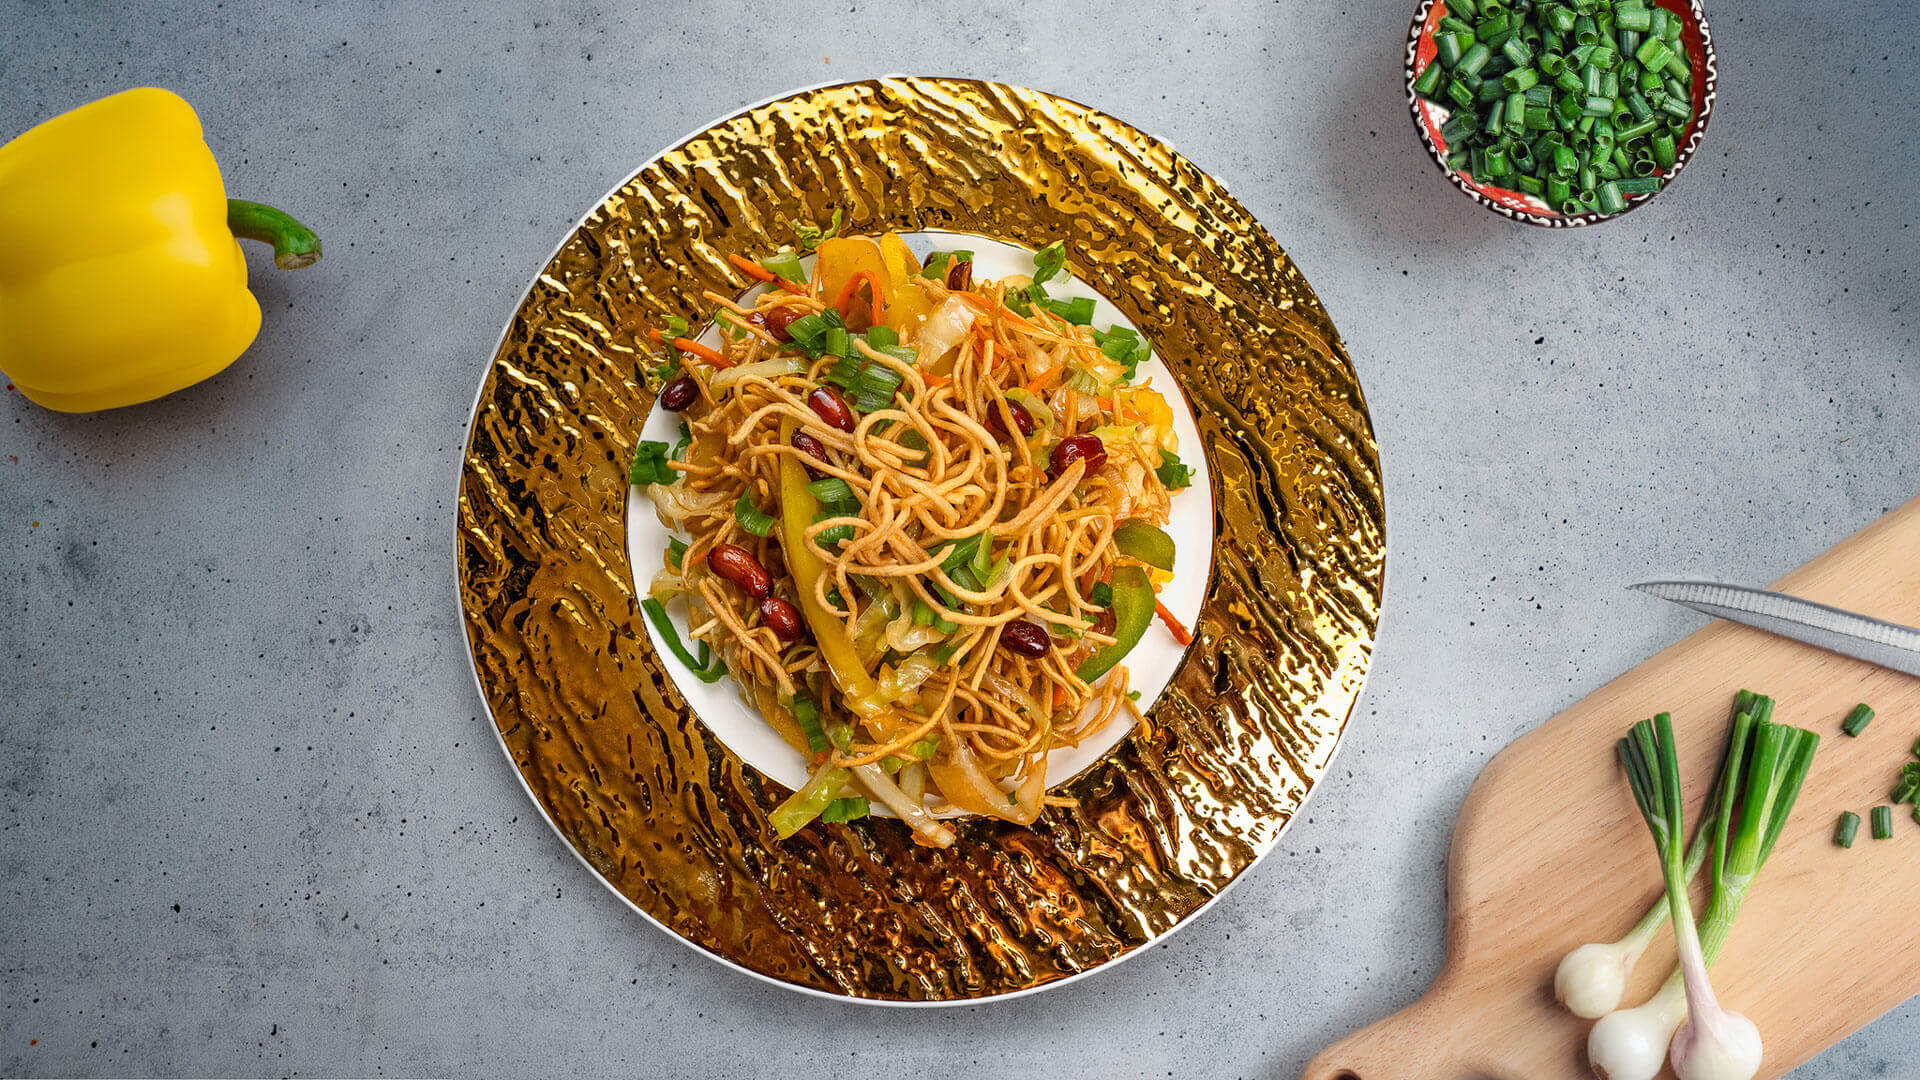
Chinese Bhel Recipe with Crispy Hakka Noodles - Easy Vegetarian Indo-Chinese Street Food Snack at Home
Make restaurant-style Chinese Bhel at home with crispy fried Hakka noodles, colorful vegetables, Schezwan sauce, and crunchy peanuts. This easy vegetarian recipe is full of flavor and perfect as a snack, appetizer, or light meal.
Chinese Bhel is a crispy, colorful Indo-Chinese snack made with fried Hakka noodles, fresh vegetables, peanuts, and bold sauces. The noodles are boiled, lightly coated, fried until crunchy, then tossed with cabbage, carrots, bell peppers, green onions, and a spicy Schezwan-style sauce mixture.
This vegetarian recipe is perfect for anyone who loves street food flavors with plenty of texture in every bite. The crispy noodles, sautéed vegetables, and crunchy peanuts make it a fun ASMR-style recipe, while the oven-baked or air-fried noodle option gives you a lighter way to enjoy this favorite at home.
Watch our recipe video for step by step instructions on how to make Chinese Bhel. We’ve included demonstrations and pro tips to help you out in the kitchen! For our Chinese Bhel recipe calories and nutrition information, see the recipe card below.